
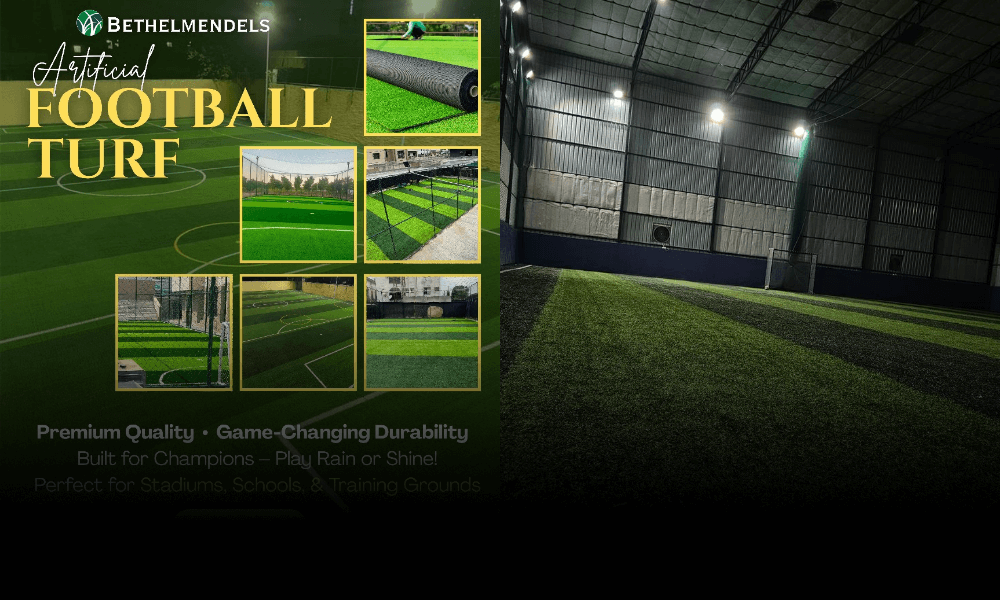
Installing an artificial football pitch is an investment in durability, playability, and reduced long-term maintenance costs.
Installing an artificial football pitch is more than laying turf—it’s a detailed process that ensures long-term performance, safety, and visual appeal. Whether you’re building for a school, club, or professional team, understanding each stage of installation is crucial. Therefore, this guide walks you through the complete process to help you get it right from start to finish.

Step 1: Site Survey and Planning
Every successful project begins with proper planning. First, a site survey assesses the existing surface, drainage capacity, and overall layout.
Key planning actions include:
- Measuring the pitch according to standard dimensions
- Evaluating slope, sun exposure, and water flow
- Planning for extras like fencing, lighting, and shock pads
By addressing these elements early, you avoid costly surprises later.
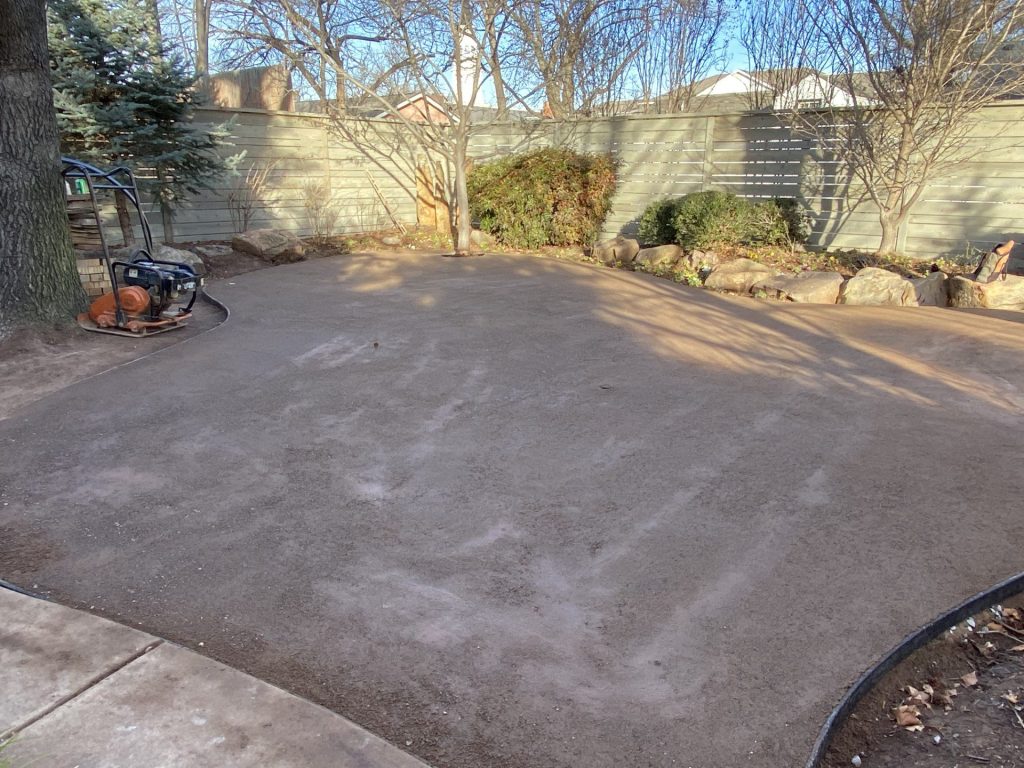
Step 2: Ground Preparation
Once planning is complete, ground preparation begins. This step involves removing the current surface—be it grass, gravel, or concrete.
Specifically, the process includes:
- Excavating up to 150mm of soil
- Installing a weed-blocking geotextile membrane
- Compacting the area to form a stable sub-layer
Without proper ground prep, the pitch may shift, sink, or flood—compromising its integrity.
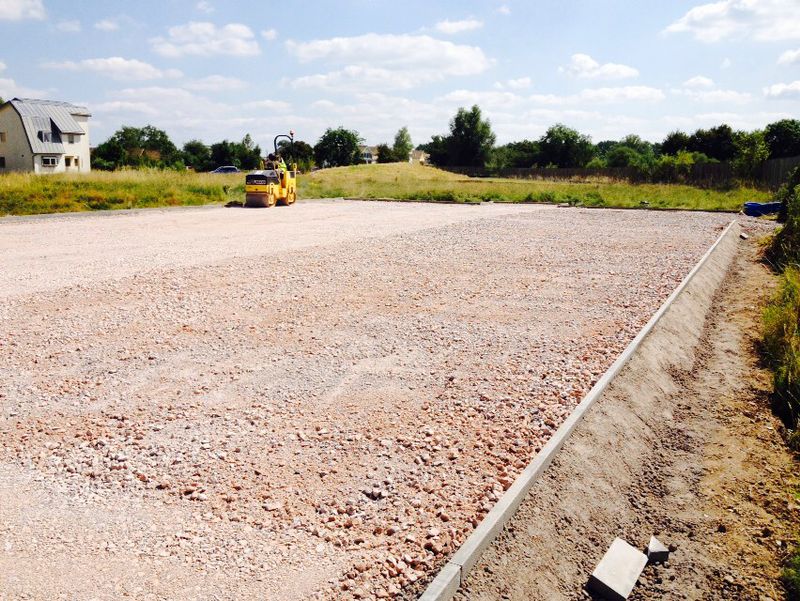
Step 3: Artificial Football Pitch Sub-Base Installation
Next comes the sub-base, which forms the foundation of your artificial pitch. Typically made of crushed stone or MOT Type 1, this layer ensures drainage and surface stability.
Moreover, it should be:
- Carefully spread and leveled
- Compacted mechanically for strength
- Topped with finer aggregates for smoothness
As a result, the pitch remains flat and playable in all conditions.
Step 4: Laying Shock Pads (Optional but Beneficial)
Although optional, shock pads are highly recommended—especially for high-impact sports like football.
They offer:
- Added safety by reducing impact
- Improved ball bounce and surface responsiveness
- Extended turf lifespan
Consequently, many professional-grade pitches now include this layer beneath the turf.
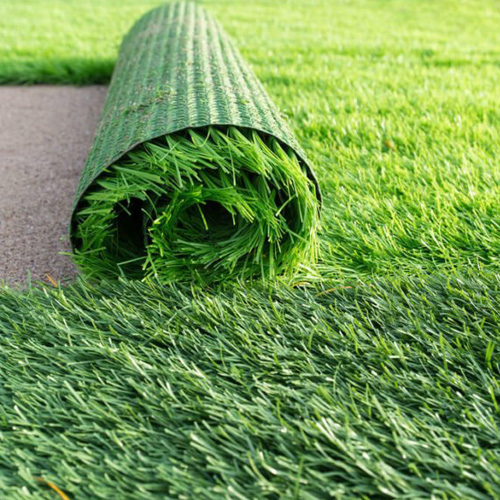
Step 5: Installing the Artificial Football Pitch
At this point, you’re ready to roll out the artificial football grass. Precision is essential here.
The installation process involves:
- Aligning turf rolls edge-to-edge
- Trimming the turf to fit corners and posts
- Gluing seams using joining tape
Additionally, installers ensure that the turf fibers point in the same direction for a consistent appearance.
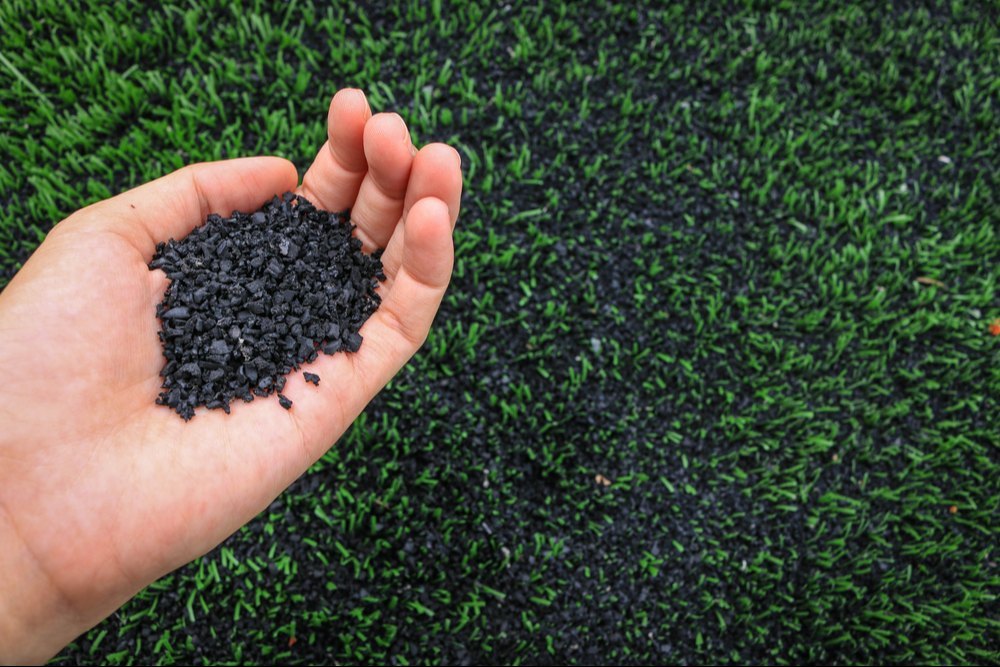
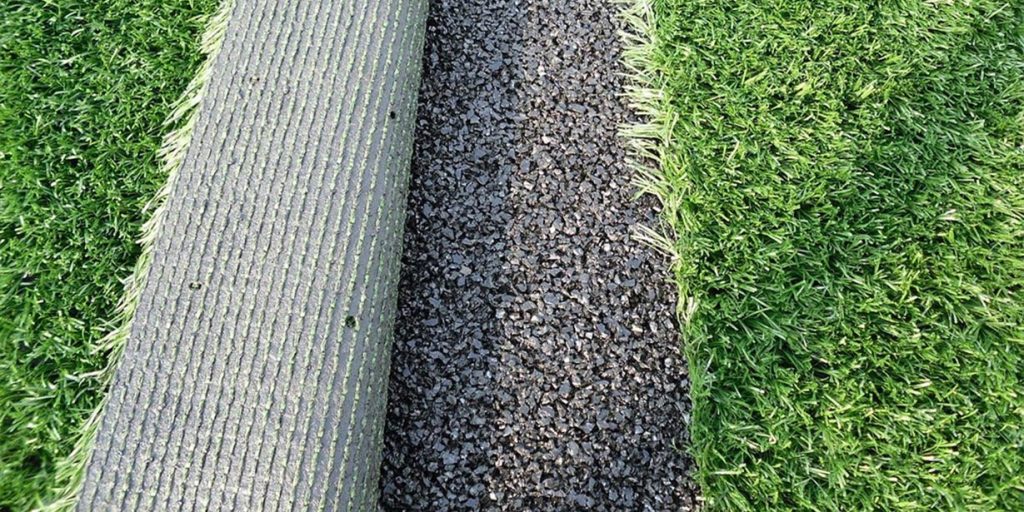
Step 6: Infill Application
Infill is critical for performance. It supports the turf blades, adds weight, and absorbs shock during play.
Materials typically used include:
- Silica sand for base stability
- Rubber granules for energy return and softness
After spreading, infill is brushed in thoroughly to lift the fibers and settle the material.
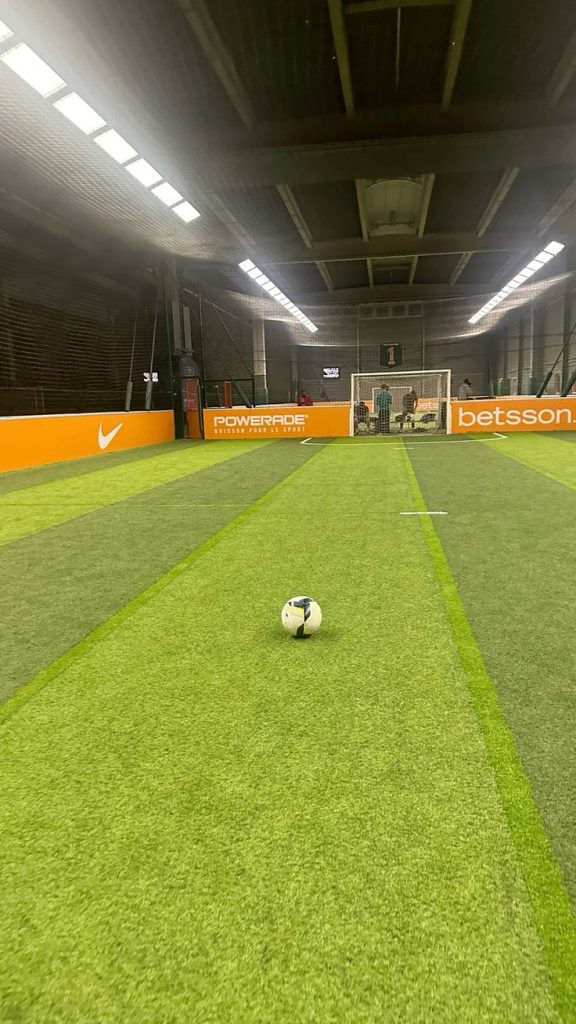
Step 7: Final Brushing and Inspection
Finally, the pitch is groomed and reviewed before use. This step ensures your surface is not only playable but also safe.
It involves:
- A final power brush to upright the turf
- Installation of line markings
- A full inspection for levelness, drainage, and seam strength
At this stage, your artificial football pitch is officially ready for action.
Ongoing Maintenance and Care
A professionally built artificial football pitch can withstand all weather conditions and frequent use without damage.
While artificial pitches require less maintenance than natural grass, some routine care is still necessary.
For example:
- Brush the surface regularly to prevent matting
- Remove debris and check drainage after rain
- Top up infill levels as needed
Thus, with minimal effort, your field stays game-ready all year round.

