
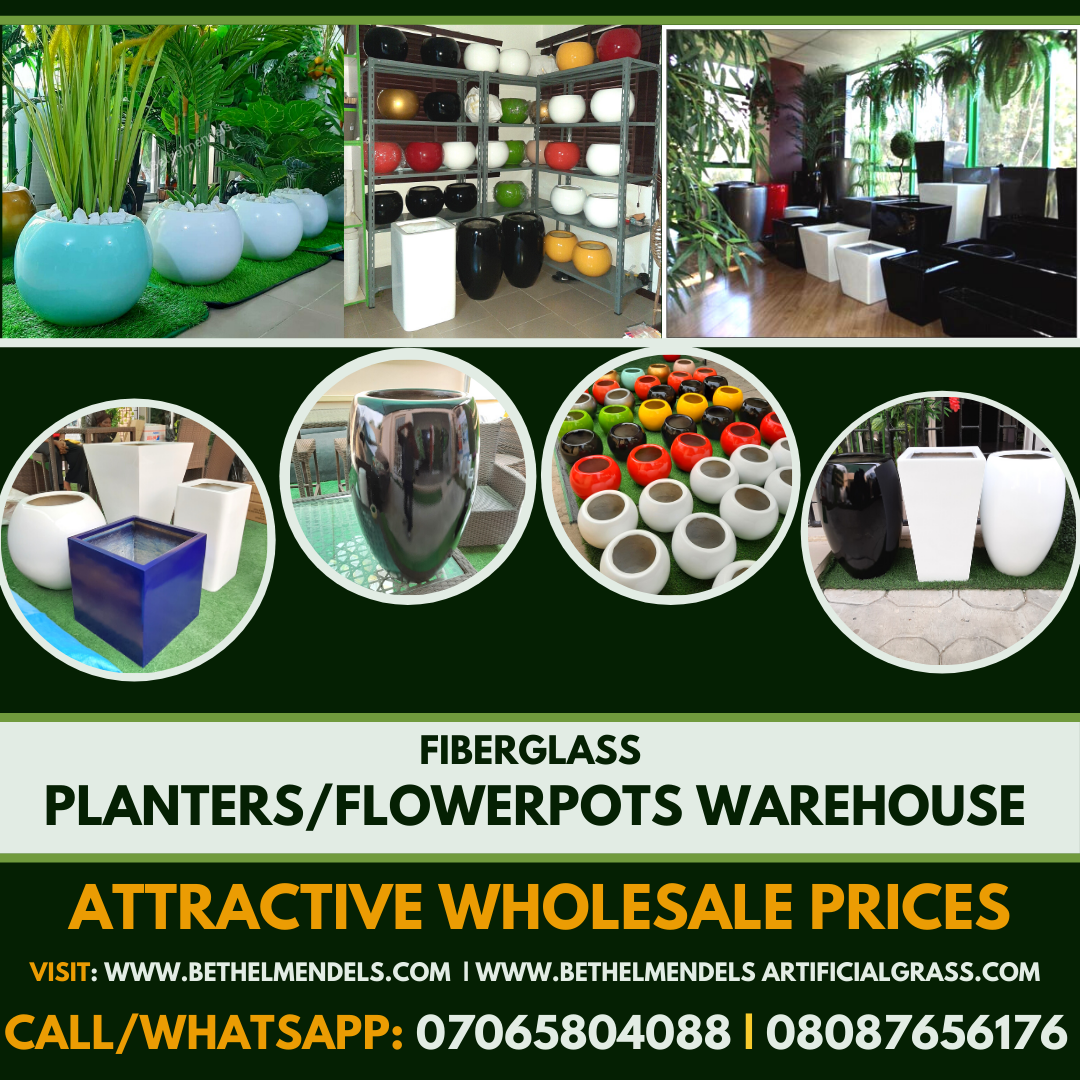
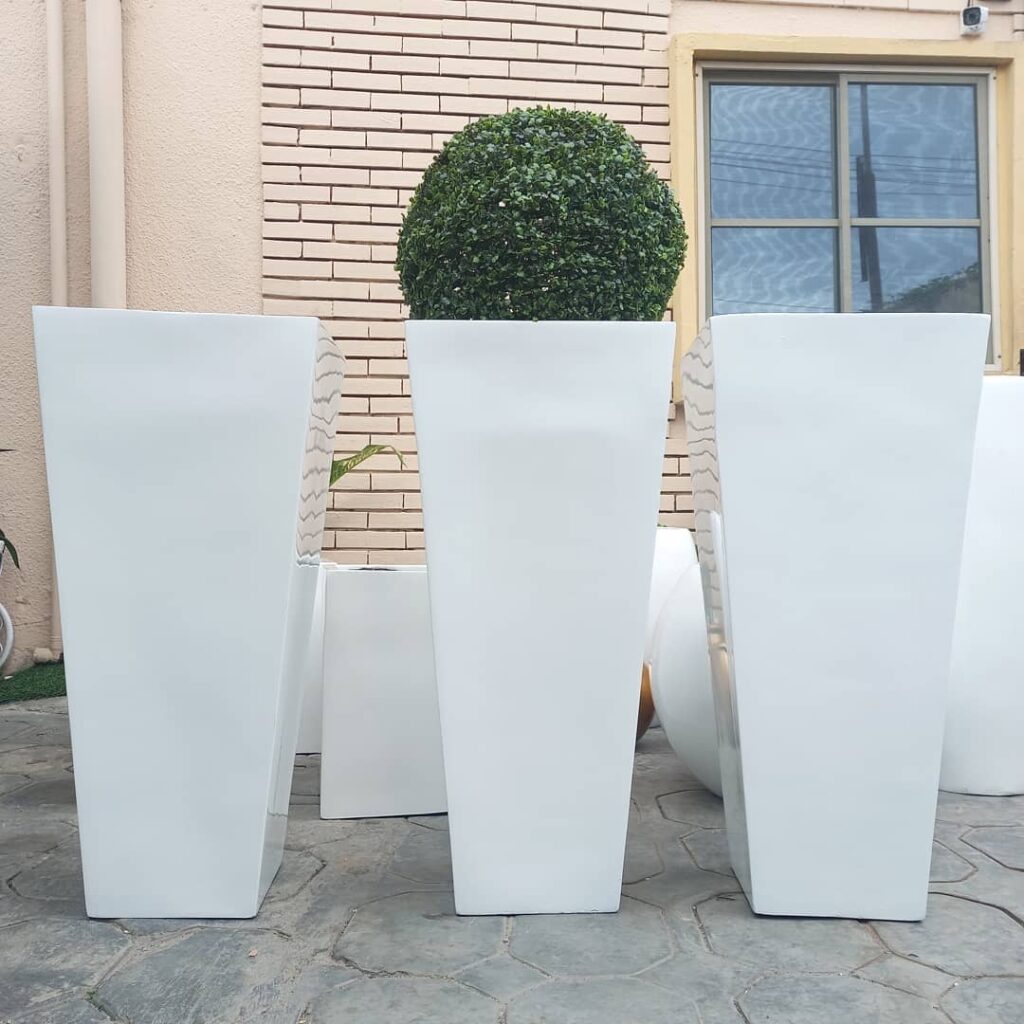
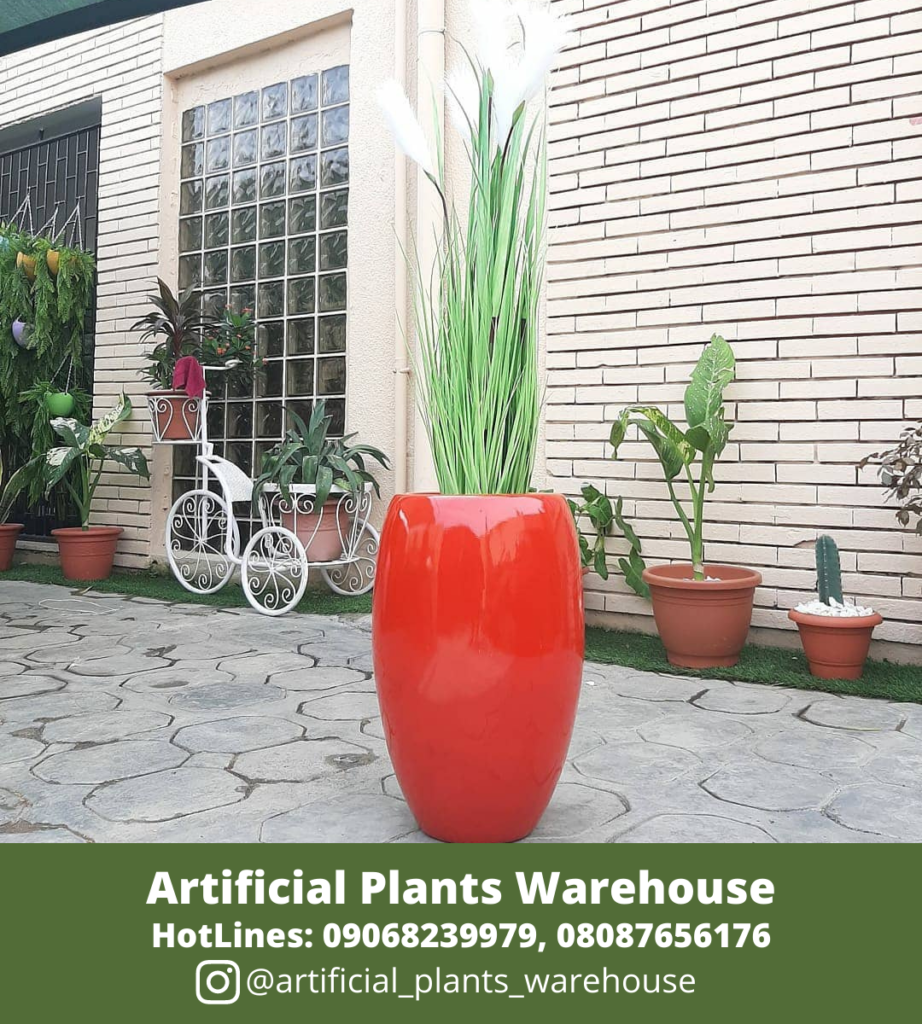
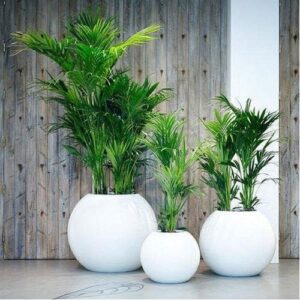
Fiberglass planters are similar to clay pots in appearance, but they weigh less, are generally less expensive in larger sizes, and are less prone to breaking. Larger pots generally require several plants to fill the growing area properly, allowing you to create a lifesize garden in the container. In the landscape, you can use the pots. Add color to your patio, frame access, or set a focus point on a garden path.
- Look for drainage holes on the bottom of the fiberglass pot. If there are no holes, drill four to six 1/2-inch diameter holes in the bottom of the pot to allow excess water to drain.
- Because the fiberglass pot may be too heavy to move after filling, place it in the desired position before adding soil and plants. Choose a place that gets enough sunshine for the sort of plants you’re cultivating.
- Fill the Planter with a lightweight potting material to within 3 inches of the brim. Garden soil should be avoided since it compacts in big pots, preventing appropriate root development and drainage.
- Before removing the plants from their nursery pots, arrange them on top of the dirt. When grown in pots, most plants require half the space stated on the plant tag. Taller plants should be placed in the middle of the pot, with shorter plants surrounding it. If desired, add trailing plants around the pot’s edge.
- Remove the plants and put them at a certain spot in the fiberglass container. Put them to the same depth as they used to grow.
- During a dry soil top inch, monitor the soil moisture in the pot and water. Pots can dry faster than garden beds, however huge, unplanting containers can keep moisture longer than smaller.
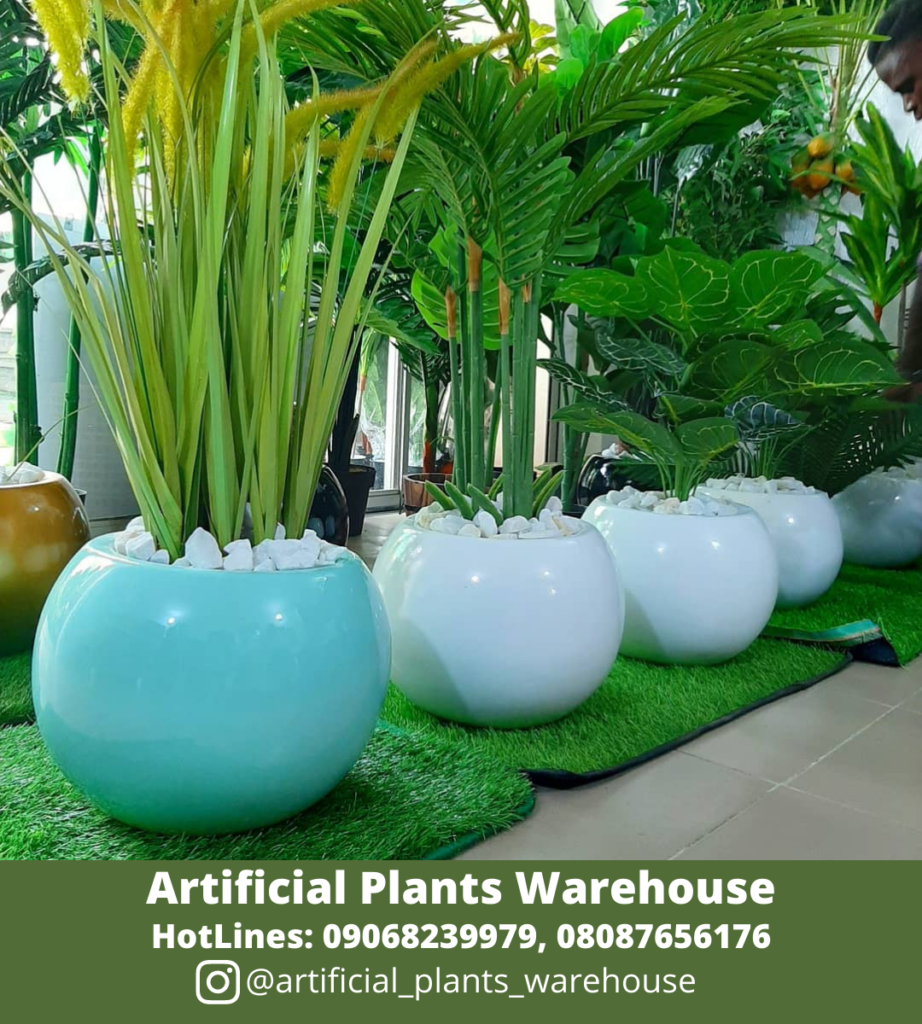
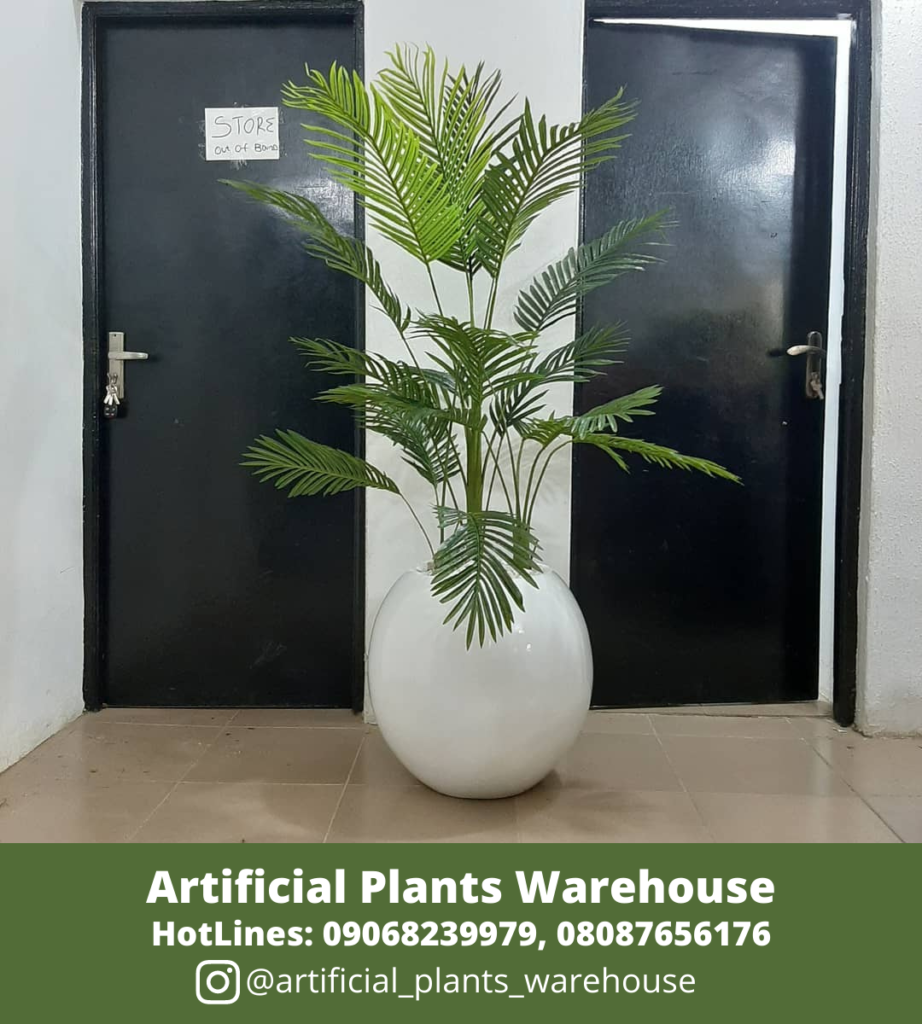
Palm Plant

